Single Sign-On (SSO)
Single Sign-on, or SSO, is an authentication process that allows a user to log-in to multiple applications, websites, or any independent system using only a single account.
For example, a user has an account with a particular company, and the company offers an identity provider (IdP) service. It can be their own service or a third party, such as Okta, OneLogin, Auth0, Azure Active Directory, etc. If SSO is already configured between the company's IdP and a service provider (SP, in this case, CTFd), the company's users will be able to use their existing log-in credentials from the company to log in to the CTFd instance.
When users log-in for the first time in a SSO enabled CTFd instance, CTFd will automatically create the user's account. This is also known as Just-in-Time (JIT) or auto user provisioning.
Single Sign On configurations are only available for Hosted CTFd and CTFd Enterprise instances
Security Assertion Markup Language (SAML)
CTFd allows admins to configure an SSO connection between a chosen IdP and CTFd, using SAML (Security Assertion Markup Language).
SAML is an XML-based open-standard, supported by many different organizations, for exchanging authentication and authorization data between parties, typically between an SP and an IdP.
SAML can be configured on Hosted CTFd instances on the Professional tier or CTFd Enterprise.
Setting up SAML
Setting up SAML requires setting up some details on the service provider as well as the identity provider side.
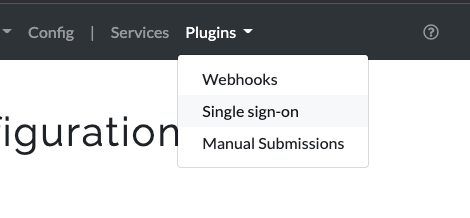
Login to the Admin Panel of your CTFd instance. Click on Plugins > Single sign-on in the top right.
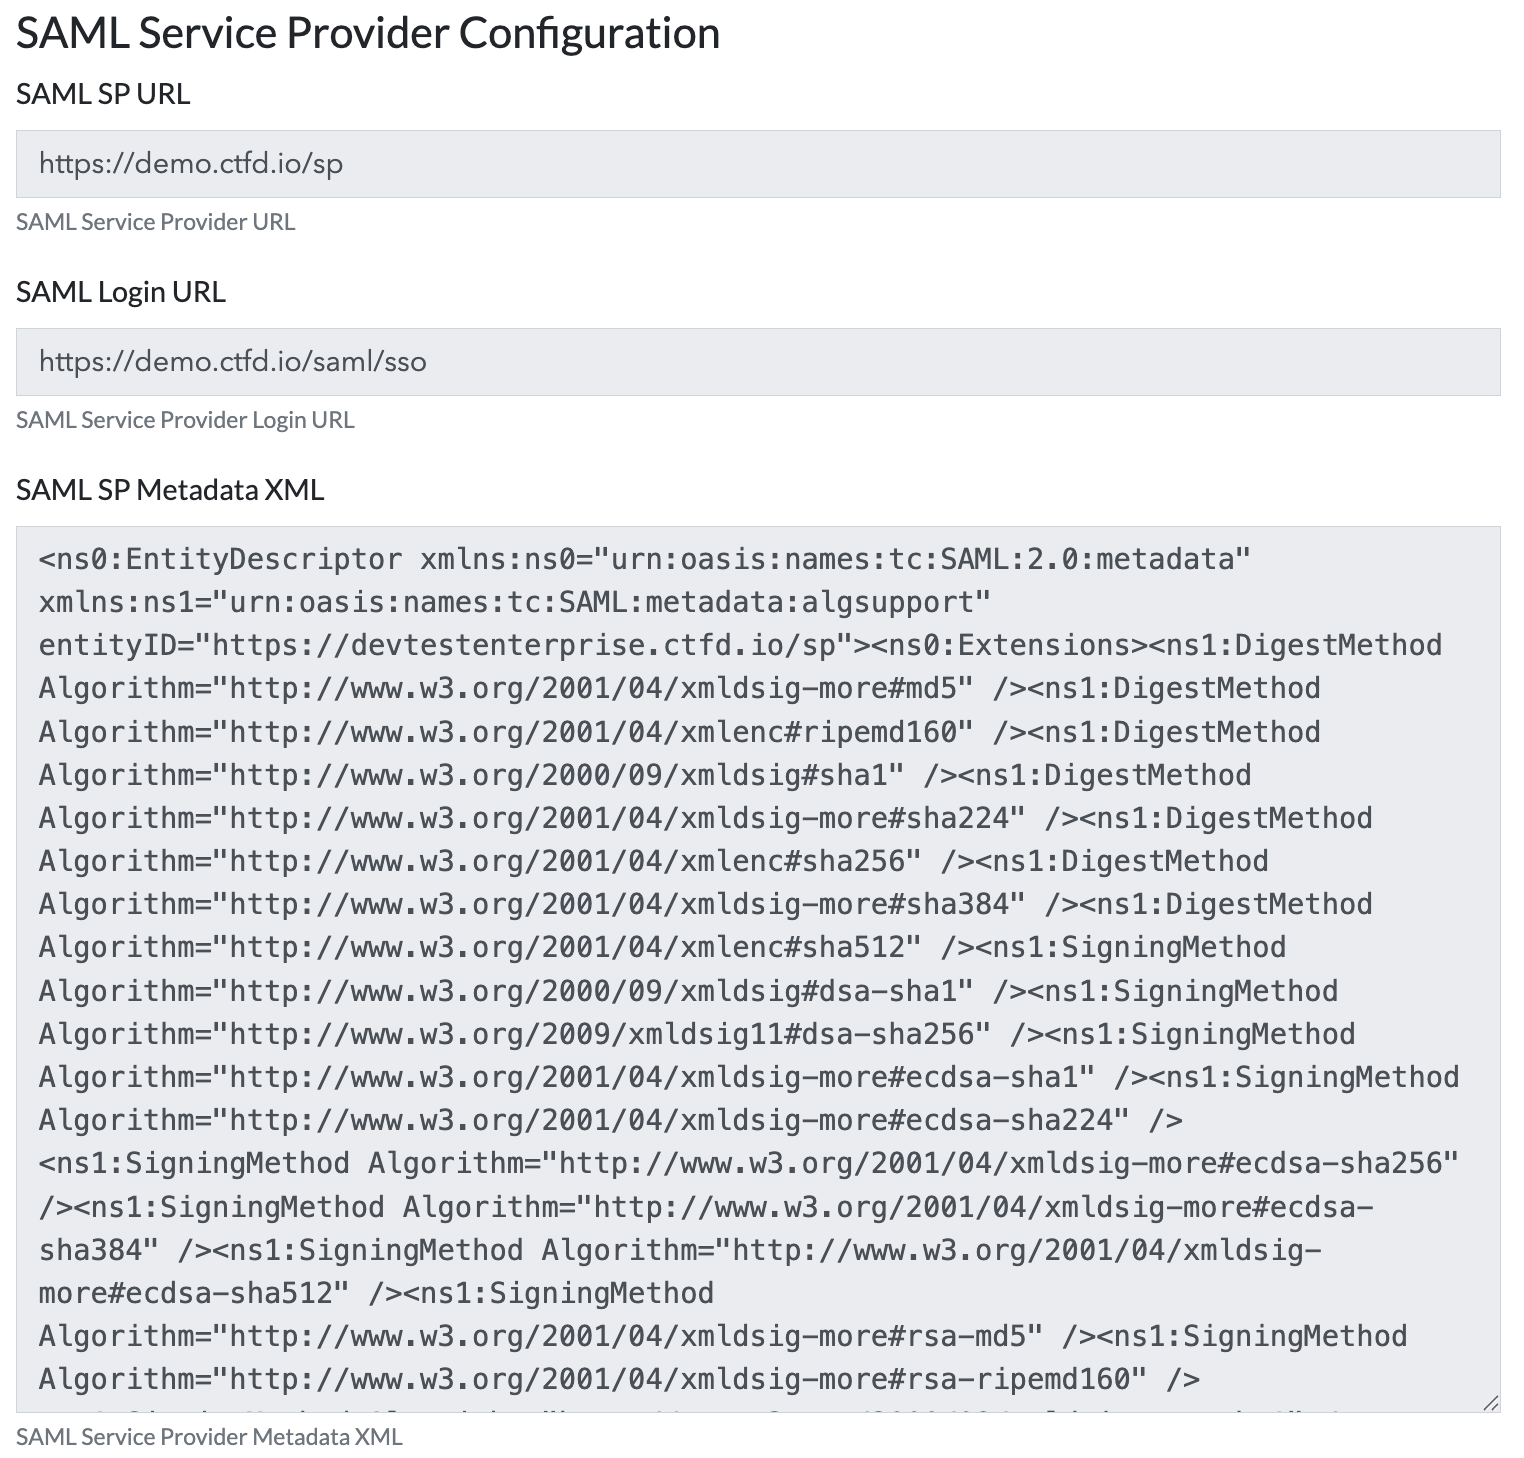
Click the SAML tab to get the SAML settings. To set up the IdP side, you will need either the SP Metadata URL or the SP Metadata XML. Either can be used in your SAML provider to setup authentication.
In some cases you may need to manually provide the Login URL which is also provided in the configuration.
 tip
tipCTFd's SAML integration must be provided an email address to authenticate a user. CTFd's SP Metadata requests the
urn:oasis:names:tc:SAML:1.1:nameid-format:emailAddressidentifier so this generally does not need to be manually configured.The username section of the email address will become the user's handle in CTFd. Their email address, if it isn't already used, will be used to create the user.
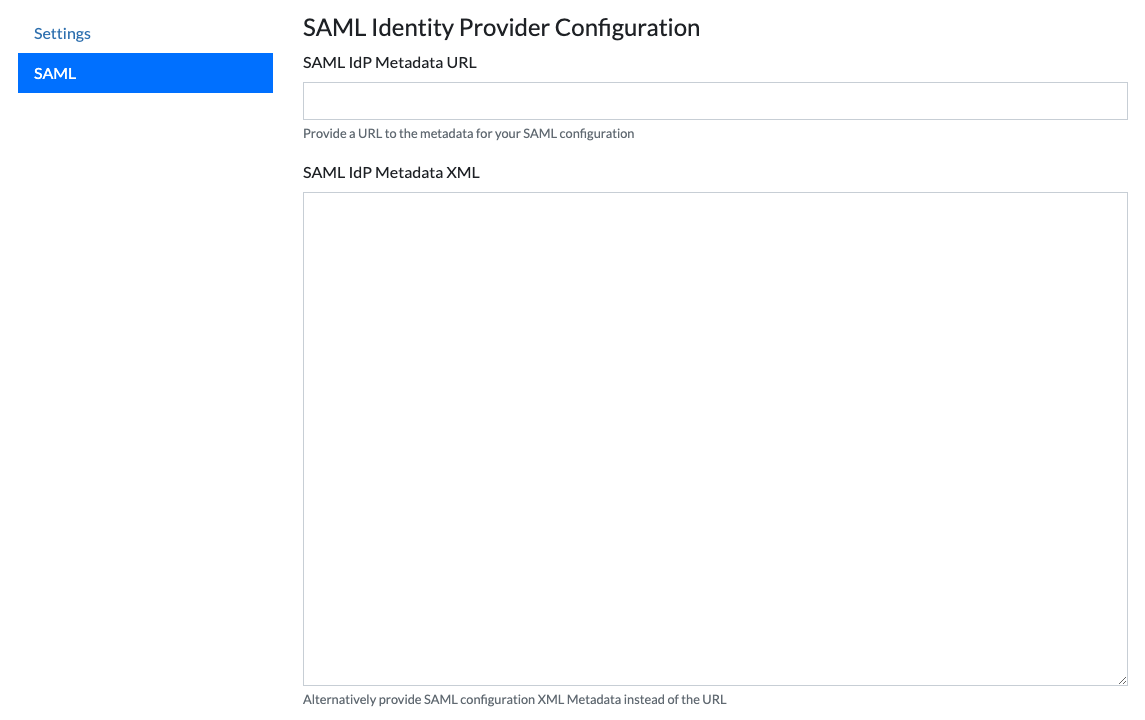
You will receive an IdP Metadata XML or IdP Metadata URL from your SAML software which you will need to put into the SAML plugin in CTFd.
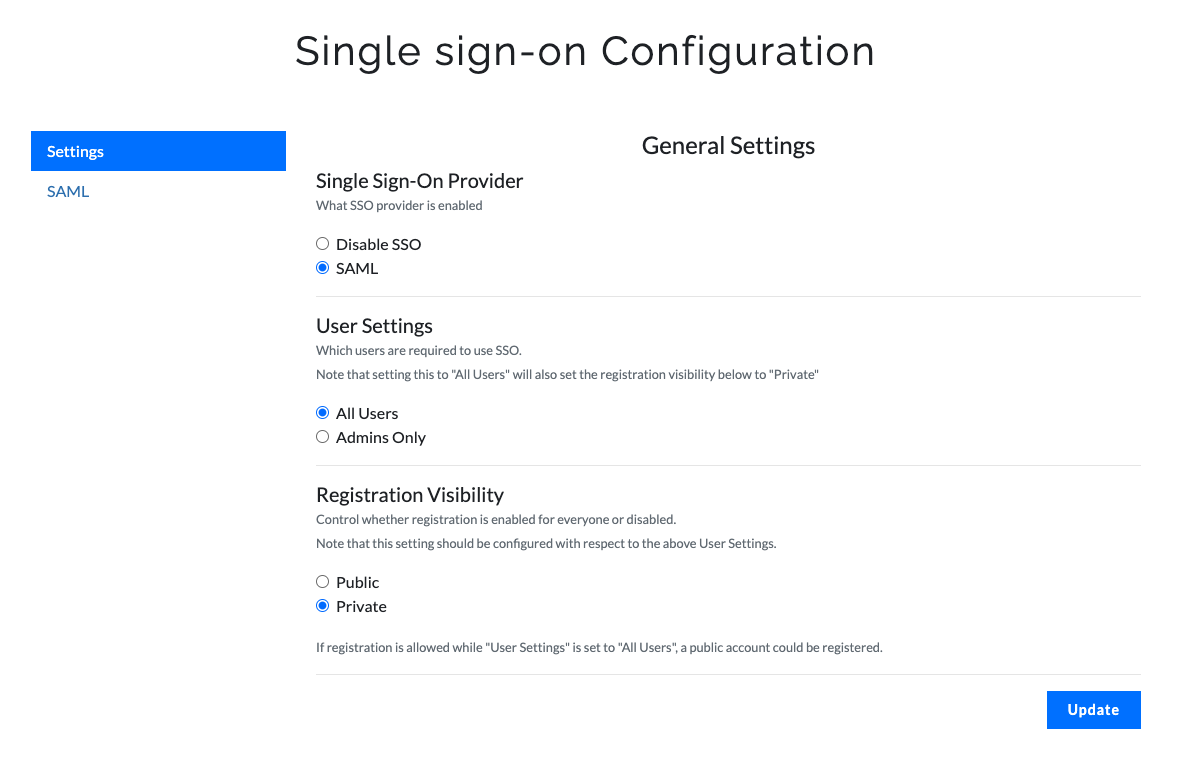
Click on the Settings tab, select SAML as the Single Sign-On Provider and then click Update.
 tip
tipWhen enabling SAML you should generally set Registration Visibility to be Private so that public users can't register an account
OAuth
Github
Follow Github's instructions for creating an OAuth App. Once complete you will be able to generate a Client ID and Client Secret. Generate them and copy them down for later.
Add the following keys into your
config.inifile. If you leave the value side empty, CTFd will load the value from an environment variable. You can choose to specify your Client ID and Secret directly in config.ini but for example purposes we will put the keys into environment variables.GITHUB_OAUTH_CLIENT_ID =
GITHUB_OAUTH_CLIENT_SECRET =
GITHUB_OAUTH_SCOPE =Add the following keys into your environment variables making sure to replace the x values with your Client ID and Client Secret. The simplest way to do this is to add them to your
docker-compose.ymlfile for deploying CTFd. CTFd only requires theuserscope for Github OAuth which we define in theGITHUB_OAUTH_SCOPEvariable.GITHUB_OAUTH_CLIENT_ID=xxxxxxxxxxxxxxx
GITHUB_OAUTH_CLIENT_SECRET=xxxxxxxxxxxxxxxxxxxxxxxxxxxxxxxxx
GITHUB_OAUTH_SCOPE=user
Fallback URL
When any Single Sign On configuration is enabled, users with local CTFd accounts may still login by browsing directly to https://[ctfd]/admin or https://[ctfd]/login?fallback=1.