Creating King of the Hill Challenges
This tutorial shows you how to set up the KoTH (King of the Hill) Challenge Type, the KoTH Agent Server, and an example target application.
KoTH Challenge Setup
Steps on how to setup the KoTH Challenge Type:
Navigate to the Create Challenge page and select the KoTH Challenge Type.
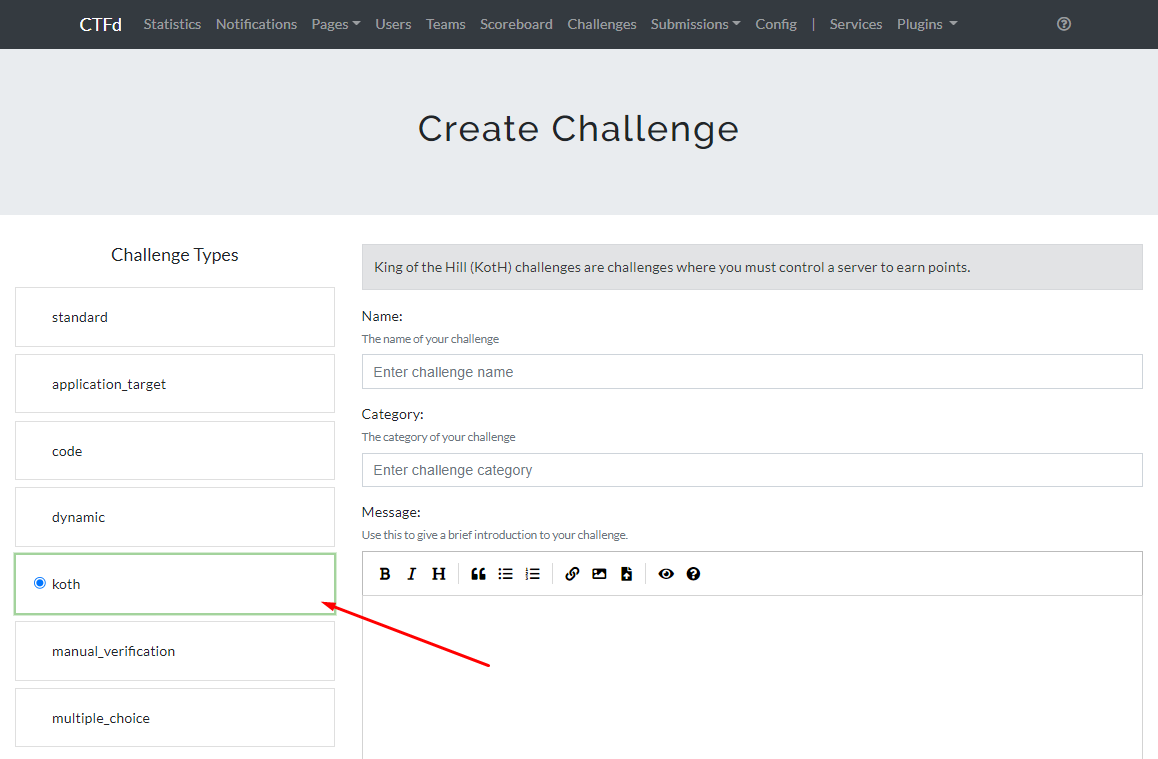
Enter your challenge's basic information, such as: Name, Category, and Message.
Scroll down, and enter the required settings for the challenge: URL, Interval, and Reward.
The URL would be
http://[server]:31337/status, based on which server the KoTH Agent is deployed in, indicated here.infoIf running the agent on the host and you wish to access it from a Docker container, you can substitute
http://host.docker.internal:31337/statusas discussed here.The Interval allows you to specify how often CTFd will poll the agent server, and Reward, allows you to specify the amount of points to give to the user/team that controls the server for each check.
The API Key and TLS/SSL Certificate are optional. Both are configured using the Agent CLI. For more information, you can refer to the documentation, right here.
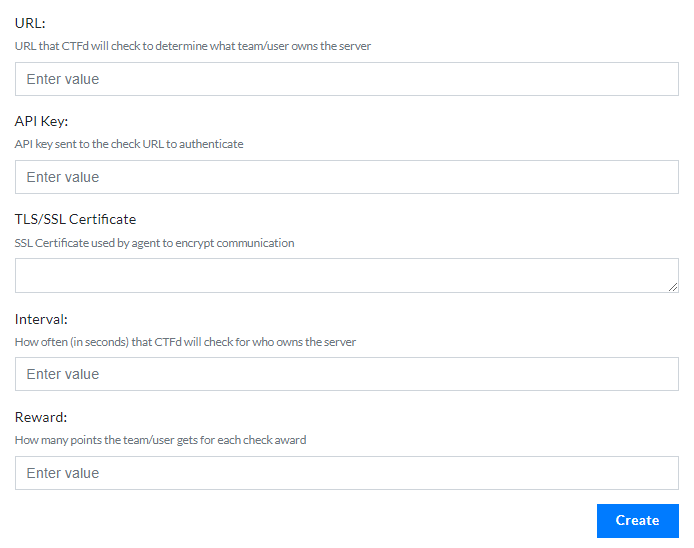
Click Create.
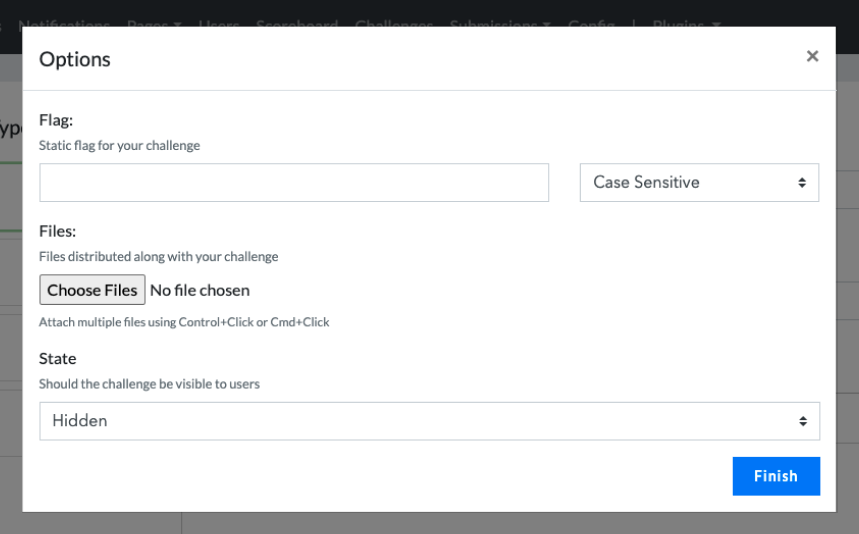
A pop-up will show up. All of the options in it are optional and can still be configured after creating the challenge. Click Finish.
Once the challenge is created, scroll down and add the URL of the target server/application in the Connection Info box. It would be
http://[server]:5000/, based on which server the KoTH Agent is deployed in, indicated here.If your challenge is ready, set the State to visible to make it available for users to open. Click Update to save changes.

Setup KoTH Agent Server and Example Target Application
We'll setup the KoTH Agent Server with a simple example application, which is a website that takes in the user's identifier or any text, and writes it to a file called owner.txt. By default, the agent will monitor the owner.txt file.
The example application that implements the above can also be found in the KoTH Agent Server repo.
This tutorial assumes that you'll be installing the agent and application on a remote and separate server from the CTFd instance. The agent and application would then be accessed via the public IP address of the server they're installed on, for example, http://[server]:[port]/.
Install Docker and Docker Compose.
Clone the KoTH Agent Server.
$ git clone https://github.com/CTFd/koth-agent.gitNavigate to the folder.
$ cd koth-agentBuild the agent and target application with
docker-compose up.$ docker-compose up
Once the Docker instance that contains the agent and application is up and running, both can be accessed and further configured as shown in the following sections.
Example Target Application
Port 5000 is assigned to the example application. Check it out by opening it on your browser on http://[server]:5000/.
Try submitting a text to the owner.txt file. For example, user#1, as the user's identifier.

KoTH Agent Server
The agent server receives and responds to requests on these endpoints: /status and /healthcheck, specifically on port 31337.
To verify if the agent was able to detect the changes in the owner.txt file, send a request to the /status endpoint using cURL or your browser. It returns a JSON response where the value of the "identifier" key would be the owner of the server.
$ curl http://[server]:31337/status
{"success":true,"data":{"identifier":"user#1"}}
/healthcheck also returns a JSON response. You can use this endpoint to check the status of the agent.
$ curl http://[server]:31337/healthcheck
{"success":true,"data":{"stdout":"","stderr":"","status":0}}
For more information about the Agent API, check out these links:
Agent CLI Configuration
The Agent CLI is used to configure the KoTH Agent Server. Since we installed the agent using a Docker container, open a terminal inside the container to use the agent, using the command:
$ docker exec -it <CONTAINER ID> /bin/bash
Once you are inside the container, check your current working directory with pwd, and list the files inside it with ls command. You will see the owner.txt file among the other files used to run the example application.
$ pwd
/opt/app

$ ls
app.py  owner.txt  requirements.txt  serve.sh
Example Usage
In this example, we're going to add an API key to the agent.
First, you would need to stop the agent's current process from running.
Run the agent again with your specified options. In this case, it's an API key. Using the Agent CLI Usage as a guide, put "abc" as the API key.
$ agent -apikey "abc"
Listening on 0.0.0.0:31337
Running without encryption
Try accessing the
/statusendpoint as described above. You will now get an "Unauthorized" response.$ curl http://[server]:31337/status
UnauthorizedNow try submitting the same request with an API key in the header.
$ curl http://[server]:31337/status --header "authorization:abc"
{"success":true,"data":{"identifier":"user#1"}}