Deploying Challenge Services
Automatic Challenge Deployment Service
Hosted CTFd offers a service that allows you to manage and automatically deploy Capture The Flag challenges in the form of challenge containers. Challenge containers are typical applications packaged using Docker into Docker images and are deployed in our challenge container servers.
Applications that are deployed through this service can be accessed by any user with knowledge of the URL/hostname.
If you are looking for a per-account instance of an application, where it can be deployed by each user, please see Application Target Challenges.
Automatic challenge deployment is only available in Hosted CTFd and Enterprise installations of CTFd
Hosted CTFd currently only supports images built for the linux/amd64 platform. Details on how to build an appropriate image while using an ARM based system (Apple Silicon, ARM, ARM64) can be found on Docker's documentation on Buildx.
Deployment Requirements
Challenge containers/services must meet the following requirements:
- Challenge containers must EXPOSE a port (e.g. EXPOSE 8000) in their Dockerfile/image
- Challenge containers should have a network service running that listens on your EXPOSE'ed port that then relays the network connection to your main service (see this page for an example)
- Challenge containers should be as small as possible
- Challenge containers are not made with Docker Compose
If you're looking for Docker Compose based challenges see Application Target
It's worth noting as well that Hosted CTFd instances are not required to use our challenge deployment infrastructure. If you have very specific requirements, you're free to run your application on seperate servers. For example those provided by DigitalOcean, Amazon Web Services, Google Cloud Platform, or Microsoft Azure.
Deployment Steps
You may be interested in using our ctfcli tool which automates this deployment process
The deployment process consists of two main phases: first creating and pushing your Docker image, then deploying a service using that image.
Creating and Pushing Your Docker Image
Login as an administrator and navigate to the Admin Panel. Click on the Containers link on the top right.
Click the "plus" icon in the Images section to go to the create Image page.

Login to CTFd's Docker registry using your CTFd credentials:
$ docker login -u '[email protected]' registry.ctfd.ioReplace
[email protected]with your actual CTFd username in the format<username>@<subdomain>.ctfd.io.tipIf you need to use
sudoto run docker, you should also usesudoto login!Docker credentials are stored per-user and when you sudo you may be accessing credentials from a different account (i.e. root).
Build your Docker image locally with your challenge application. Ensure your Dockerfile includes an
EXPOSEdirective for the port your application uses and is built for theamd64platform.Tag your image for the CTFd registry:
$ docker tag your-image-name registry.ctfd.io/[subdomain]/[image-name]Replace:
your-image-namewith the name of your locally built image[subdomain]with your CTFd subdomain[image-name]with the image name you specified in step 1
Push your image to CTFd's registry:
$ docker push registry.ctfd.io/[subdomain]/[image-name]When fully received the image will have a status of
pushed.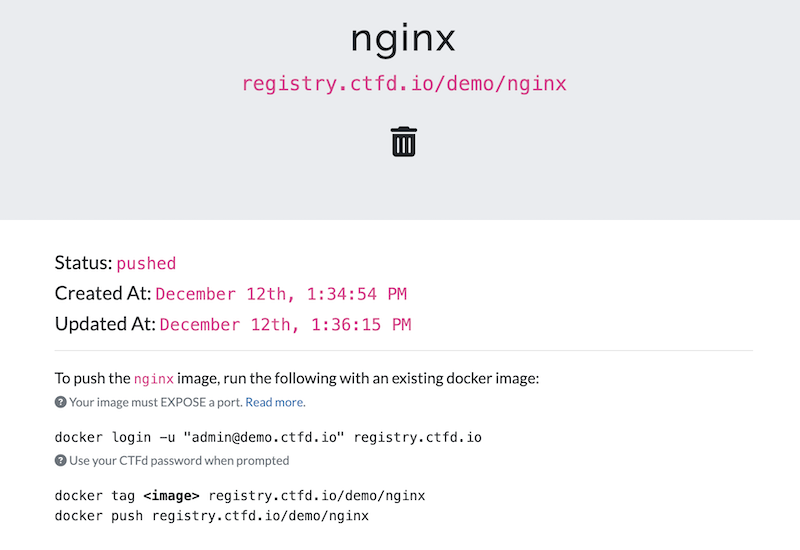
Deploying a Service Using Your Image
Once your image is successfully pushed to the registry, you can deploy it as a service:
Login as an administrator and navigate to the Admin Panel. Click on the Containers link on the top right.
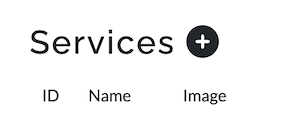
Click the "plus" icon in the Services section to go to the create Service page.
Give your service a title (lowercase alphanumeric and dashes only) and specify the image you'd like to use. Then click the Create button.
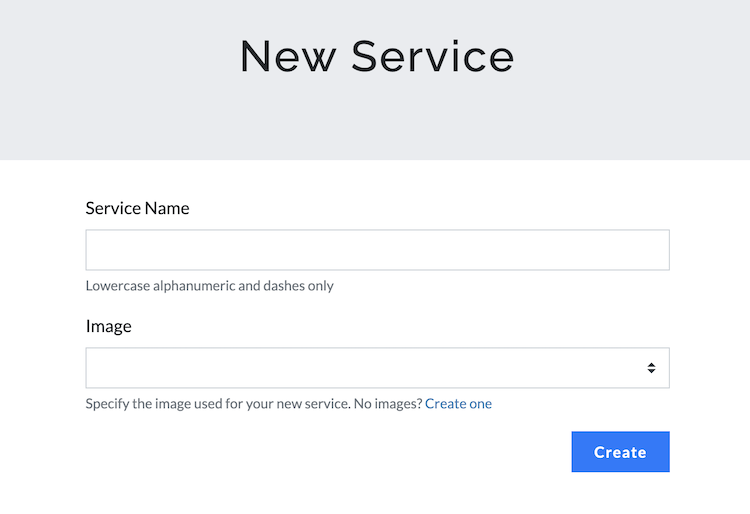
NOTE: the title will become part of the URL if your challenge is to be deployed as a web service
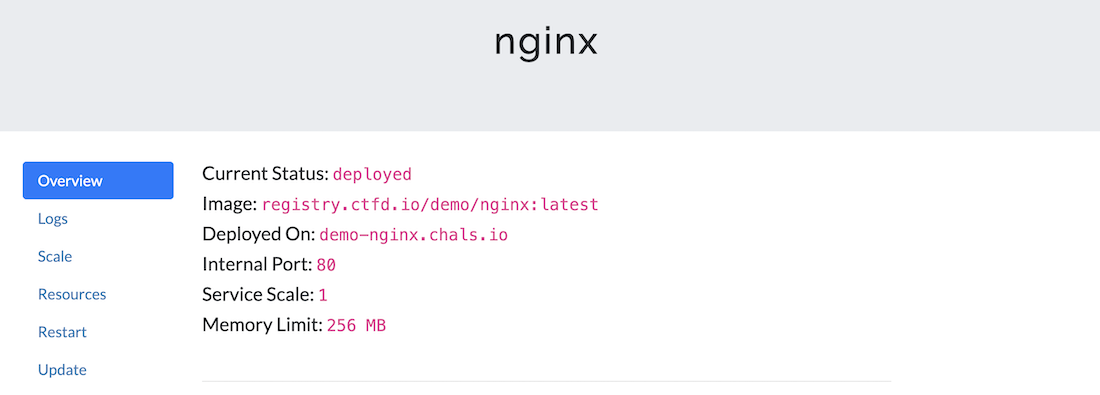
The service page will automatically deploy your pushed image. The page will update with the deployed hostname of the challenge (you may need to manually refresh the page). You should receive an email every time the challenge is deployed.
The deployed hostname is a persistent link that participants can use to access your challenge.
Connecting to Services
Hosted CTFd instances uses an improved customized infrastructure based on SNI multiplexing to host challenge services. Our infrastructure automatically encrypts all communication to a challenge service and all communication happens over a single well known port (443). You can read more about the this design on our blog at https://blog.ctfd.io/hosted-challenge-deployment-improvements/.
If the underlying application you've deployed is a web server, you can simply open the URL in a browser and it will work seamlessly (e.g. https://demo-challenge.chals.io).
However, if your underlying application communicates directly over TCP you can "Request a TCP port" from our infrastructure and use a tool such as netcat. Keep in mind that this will forego any security or vanity benefits provided by using our encrypted connections.
Requesting a TCP Port
Browse to your deployed service and select the
ConnectiontabClick on "Request TCP Port". Confirm that you'd like to request a port.
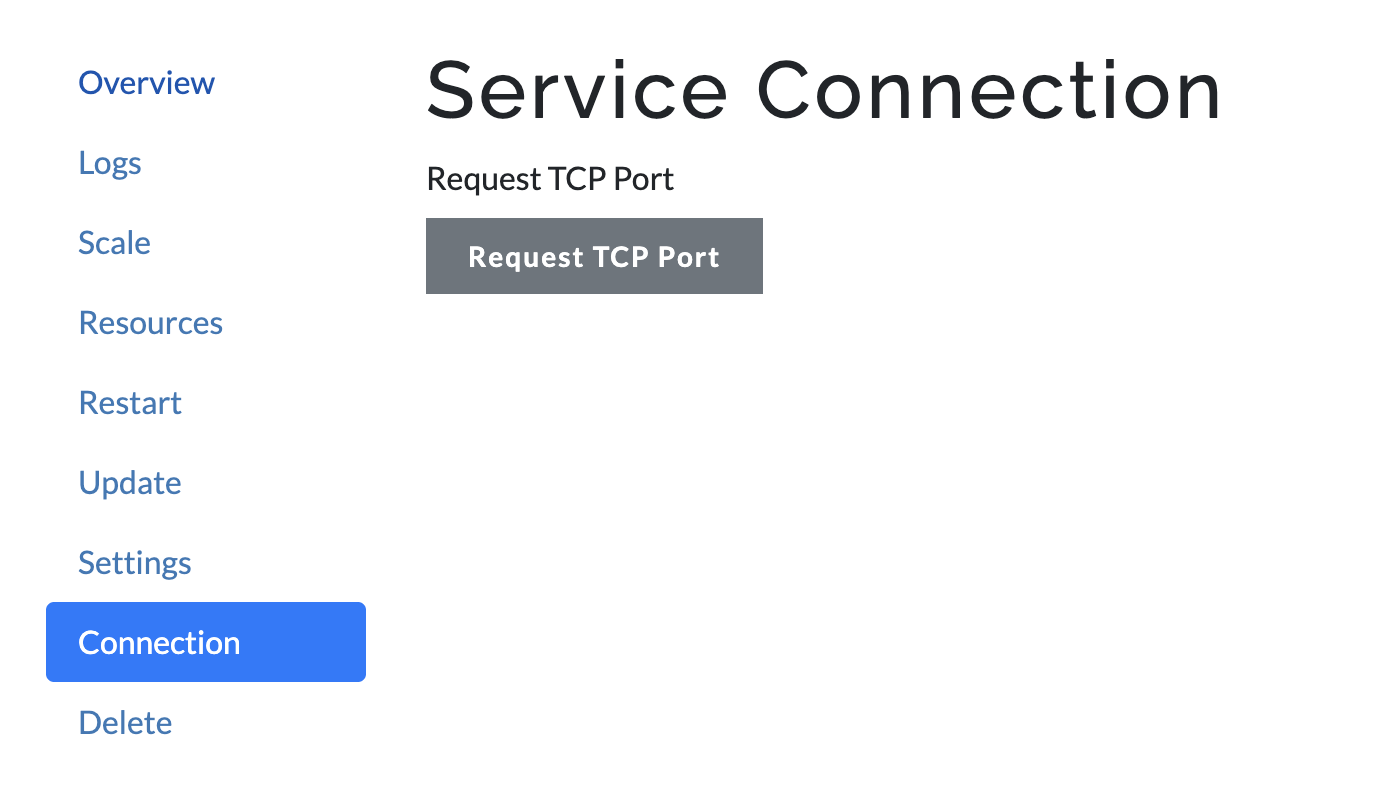
Refresh the page if it does not automatically refresh
You should receive a hostname and port as shown below:

Once you've been allocated a hostname and port, share it with your users for them to be able to connect to the service via tools like netcat.
Alternatively you can also leverage our fallback proxy service that allows netcat to connect to challenge services without requesting a port.
For example:
❯ nc cloud.chals.io 23
Host: demo-challenge.chals.io
...
Others
If none of the above options work for you, you can take a look at some of the other options here.
Questions/Feedback
If you have any questions or any feedback, please feel free to contact us.